Version 5 themes
Version 5 themes are ShopWired's next generation themes and are the latest theme versions available on ShopWired.
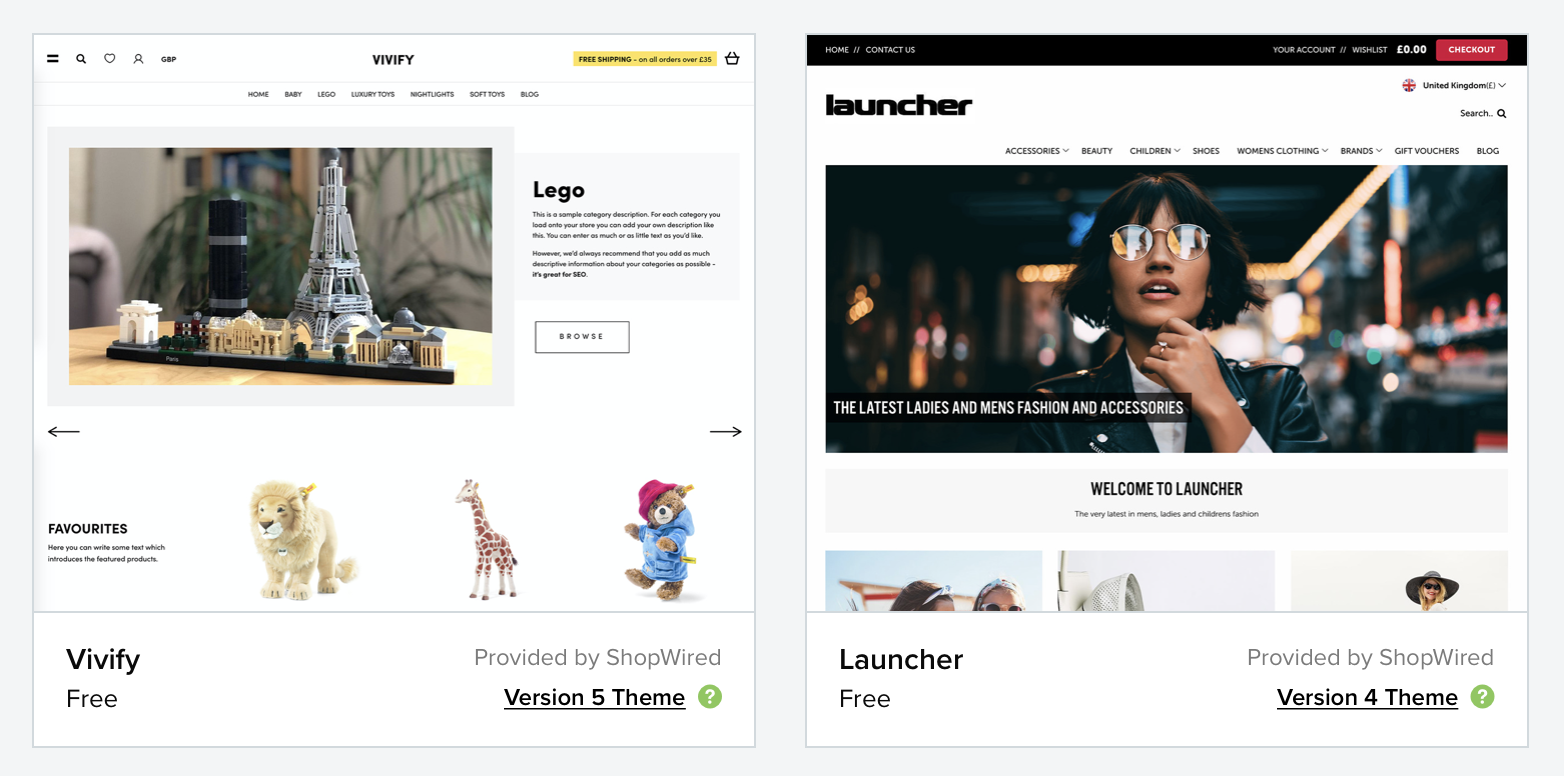
When you view the available themes in your ShopWired account, Version 5 themes are indicated with the text Version 5 theme written next to the theme name.
Version 5 themes contain a wide range of new functionality:
- More theme settings to customise aspects across your theme
- Page settings to customise individual aspects of each page
- Sections & blocks functionality to configure the layout of every page of your website
ShopWired currently offers 5 Version 5 themes:
The range of customisation options in Version 5 themes far surpasses the range of options available for Version 4 and earlier theme versions on ShopWired. If you're currently using an earlier theme version, contact theme support for assistance in upgrading to a Version 5 theme.