Blog post comments
ShopWired does not have a built-in feature that allows visitors to place comments on your blog posts. Instead, all ShopWired themes have support for Disqus.
Disqus is a widely used third-party commenting platform used by websites to add commenting sections to their website's content. It allows visitors to engage in discussions, share comments, and offers features such as user authentication, comment moderation, spam filtering, and social sharing options.
- Disqus is easily activated on any ShopWired theme
- Disqus provides a basic, free-to-use plan to enable you to receive comments on your blog posts
- Disqus's basic plan includes: -- Unlimited blog post comments -- Basic reporting and analytics features -- Simple moderation tools -- The ability for visitors to log in to comment through popular platforms such as Facebook, X, and Google
You can create a free Disqus account here.
Activating Disqus on your website
Activating Disqus on your website
Once you've created a Disqus account, you'll be provided with a which will be something like shopwired.disqus.com.
Copy this URL to your device's clipboard and navigate to the theme settings for your blog page (how you navigate to the settings for your blog page depends on the theme you are using). Read more about customising themes.
Paste your unique Disqus identifier into the setting provided and save your changes.
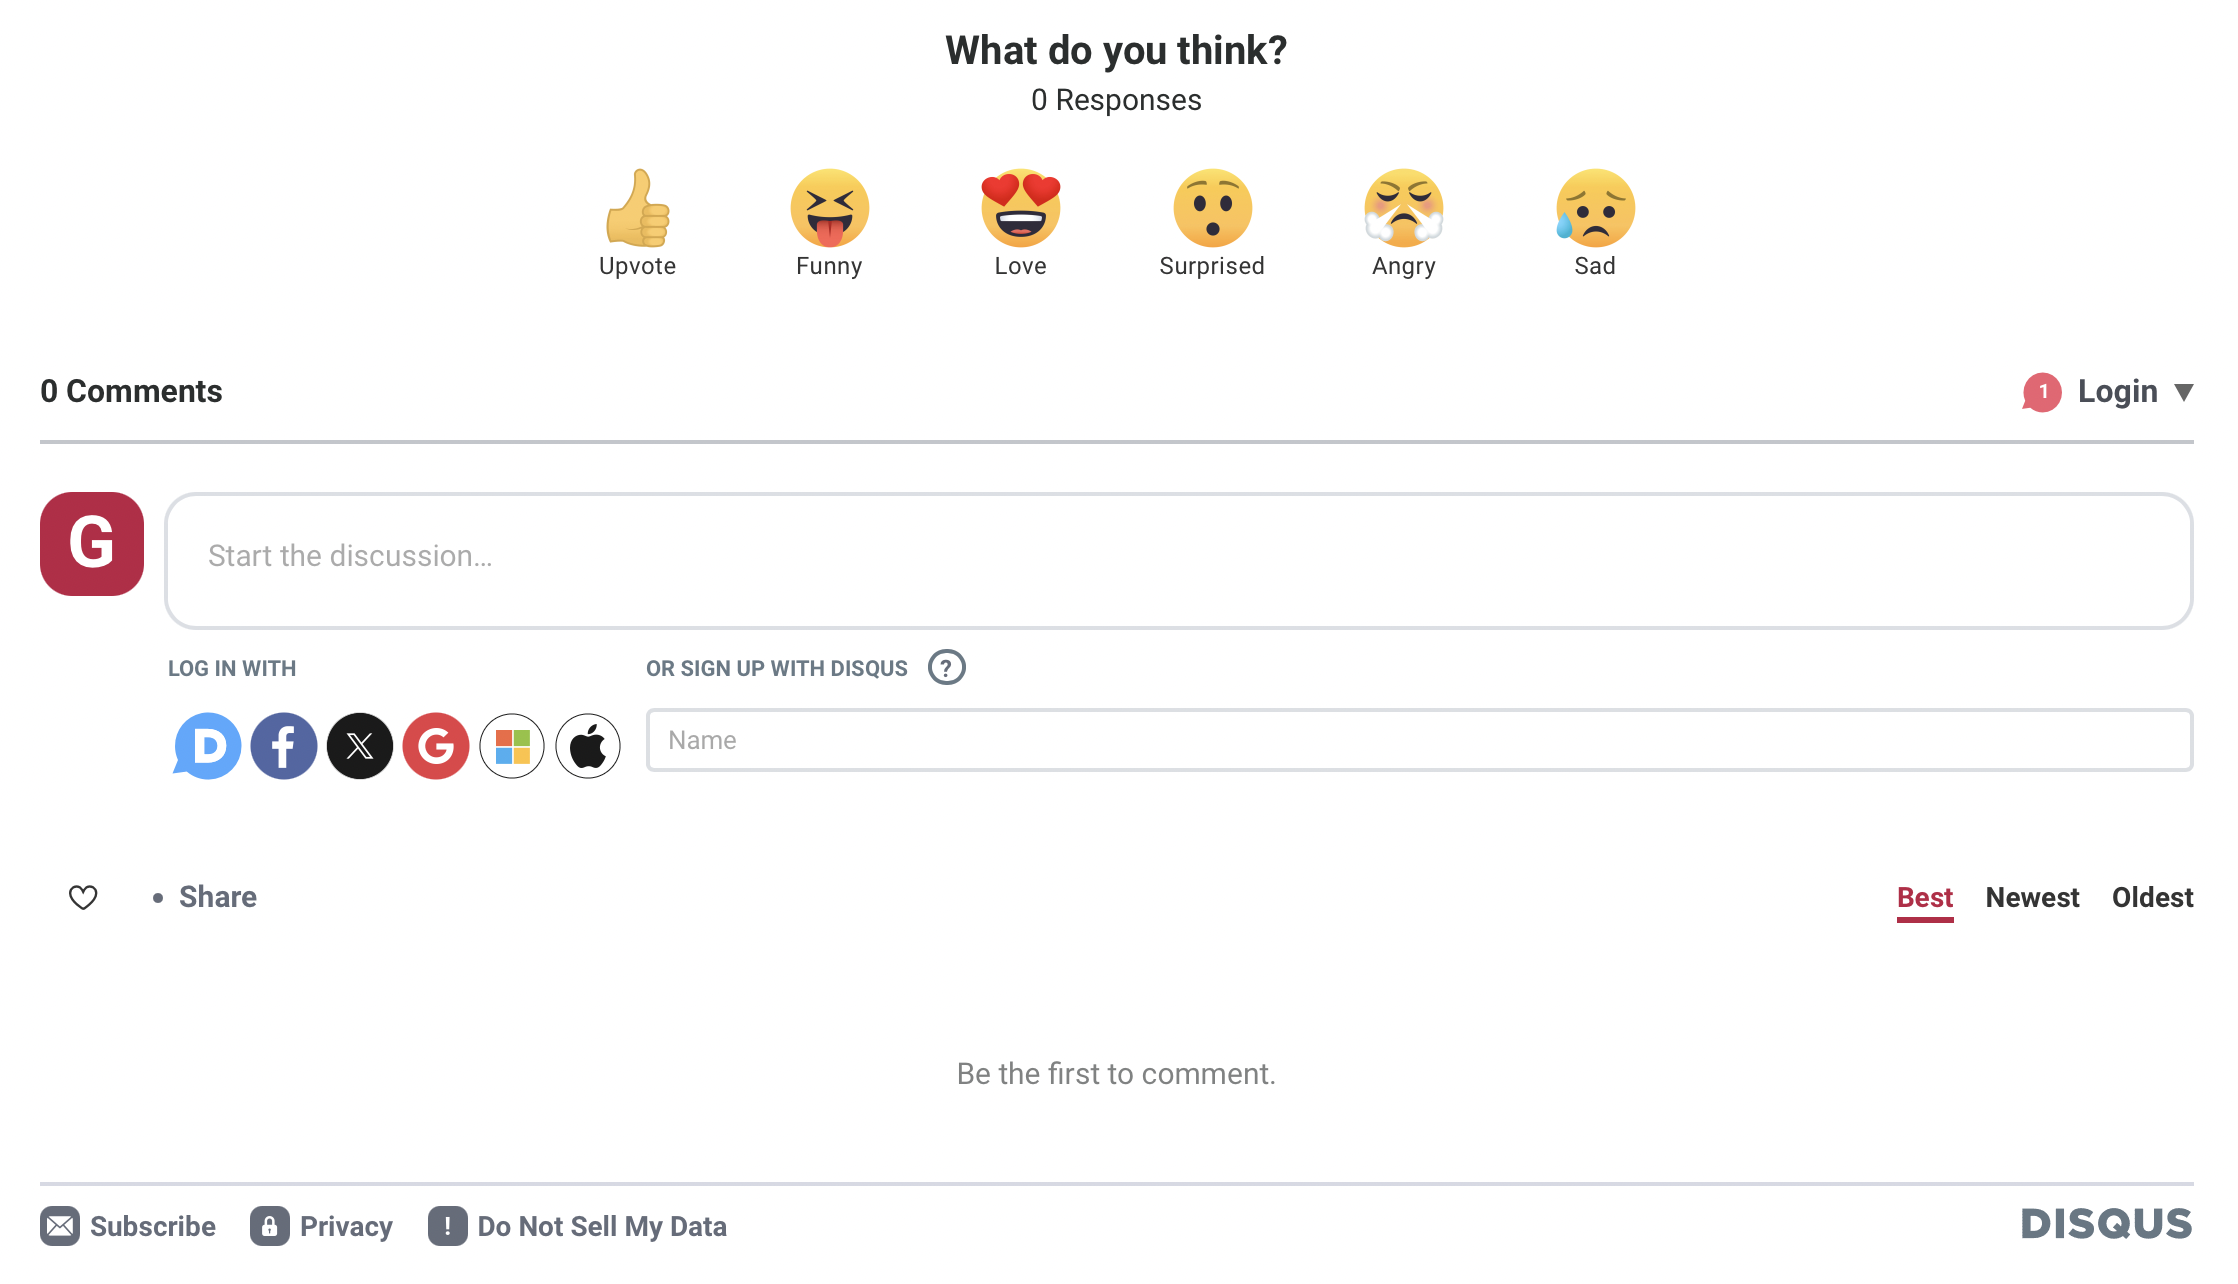
Once Disqus is activated, the commenting box will be available on every blog post as shown in the example below.
Other commenting platforms
Other commenting platforms
Whilst Disqus is the suggested commenting platform to use on your blog post pages, it is not mandatory. You can use any commenting platform or plugin on your website.
Some other widely used commenting platforms include:
- Facebook Comments Plugin
- Commento